

VAG Cam Chain Tensioner Tool for 5-Valve Cylinder heads
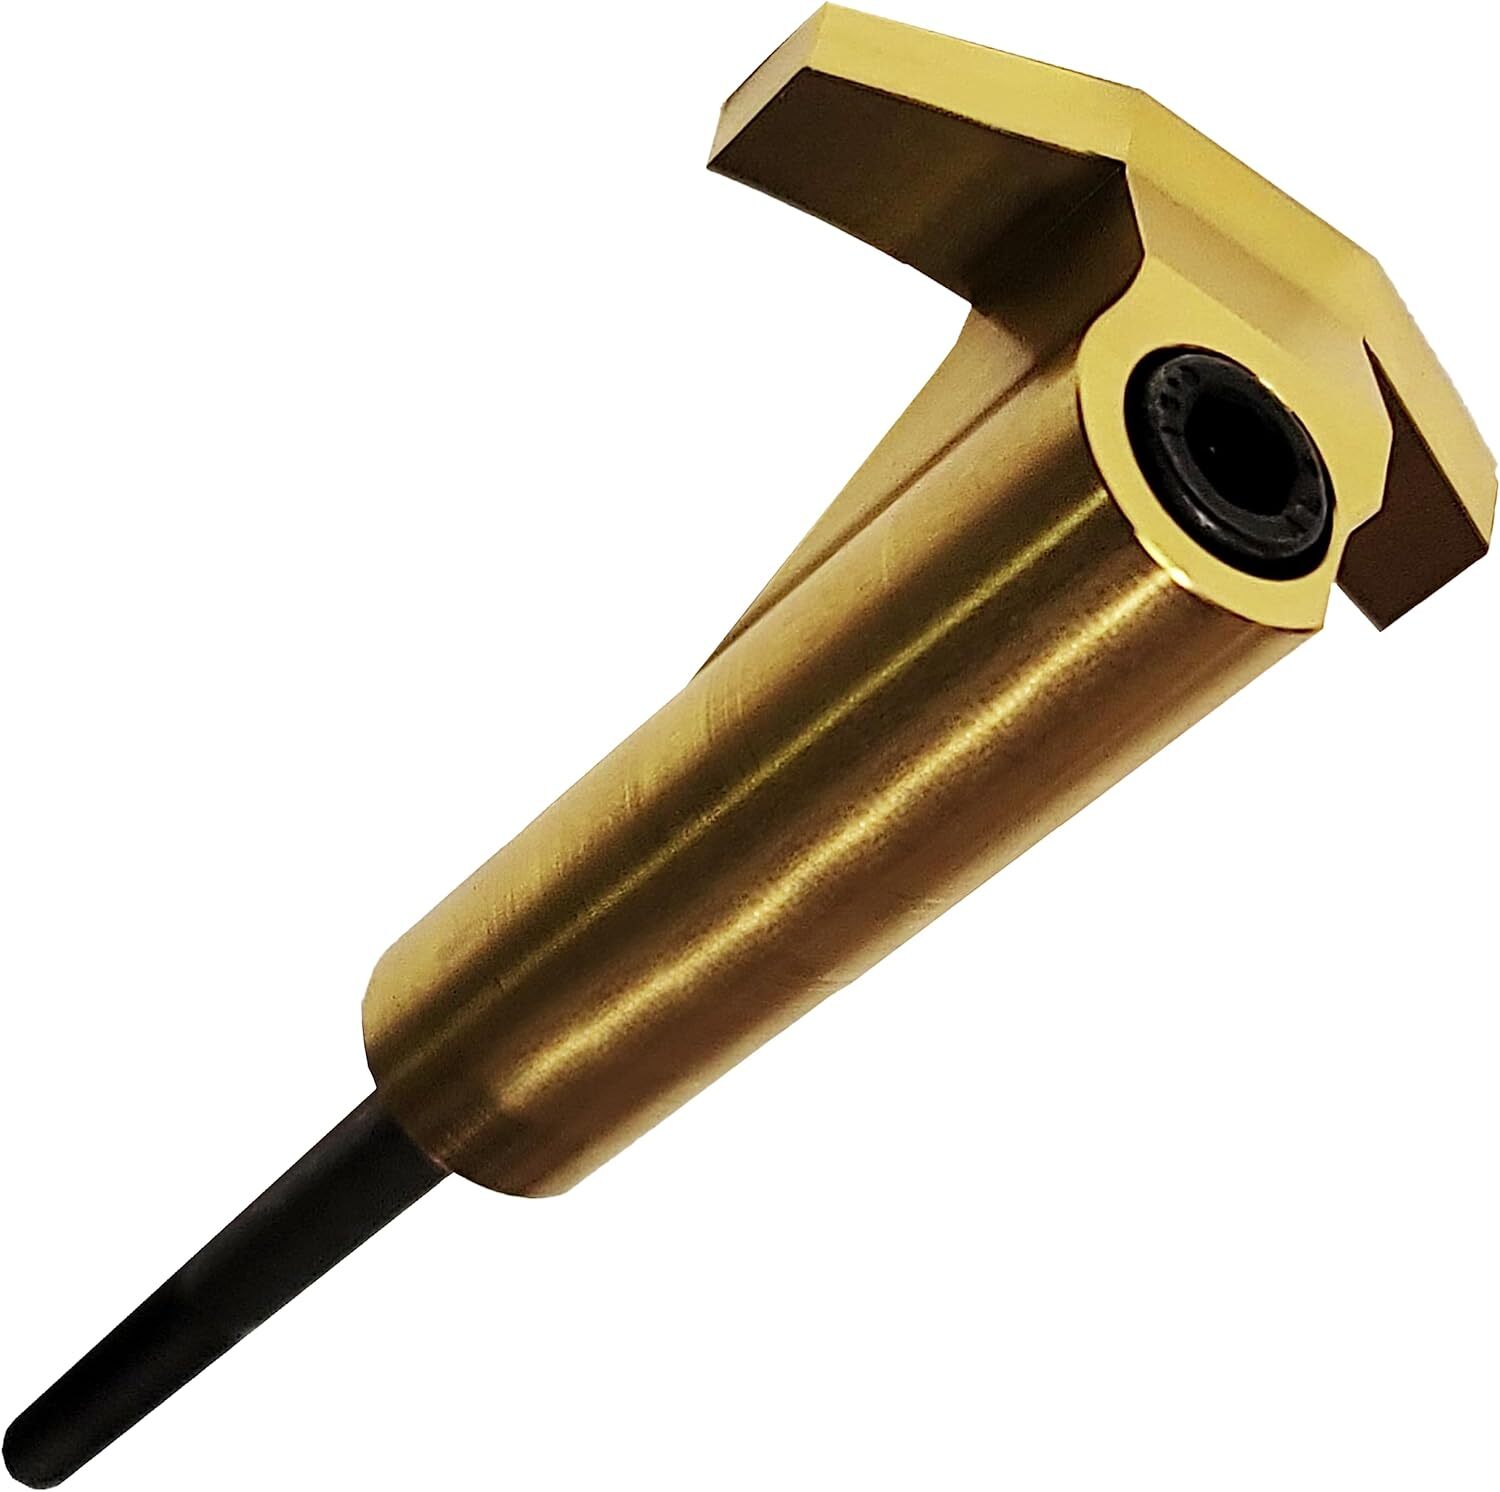
Congratulations on your purchase of this VW / Audi 5-Valve Cam Chain Tensioner Tool!
Contact 40Tperformance with any questions, always happy to help out in any way!
Dave @ 40T-Performance
Technical Specialist
Direct Line: Call or Text (248) 403-8512
Email: 40tperformance@gmail.com
Here are some helpful diagrams and specifications (specific to the 1.8T head) May be similar to other engines but we urge you to reference your engine’s specific manuals.
Torque Specifications:
Bearing caps to cylinder head, 10 Nm
Camshaft adjuster to cylinder head, 10 Nm
Camshaft position sensor rotor ring to camshaft, 25 Nm
Camshaft position sensor housing to cylinder head, 10 Nm
Camshaft sprocket to camshaft, 65 Nm
Instructions/Guide:
Set the engine at TDC and remove the valve cover
Use the 40T Performance tensioner tool to compress the existing tensioner
Unbolt the camshafts. Release the caps in a criss cross pattern starting from the center caps and work your way outwards. Pay attention to where the caps are, there are arrows on the caps that need to be installed exactly where they were before you took them off. Once the caps are off, unbolt the tensioner. The caps are numbered starting from 5 down to 2, front to back. Just make sure they get put in the same place they were before.
Since the timing belt is still on the cam shaft sprocket, the difficult way to do this job would be removing the front end and taking the timing belt off the sprocket. To save some time use a channel lock and clamp the belt to the sprocket so the belt does not slip. Protect the belt from the teeth of the channel locks to avoid damaging it)
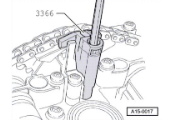
Pull the cams and tensioner up as high as the belt will let you and slide the tensioner out.
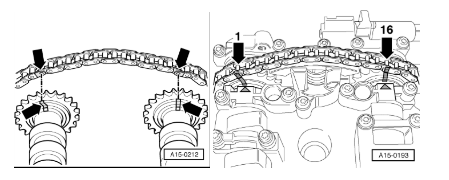
Remove the tool and compress the new tensioner back down. Getting the new tensioner in is bar none the hardest part of the job. You have to get 16 chain links between the timing marks on the back cam caps in order for the cams to be in time. See photos below.
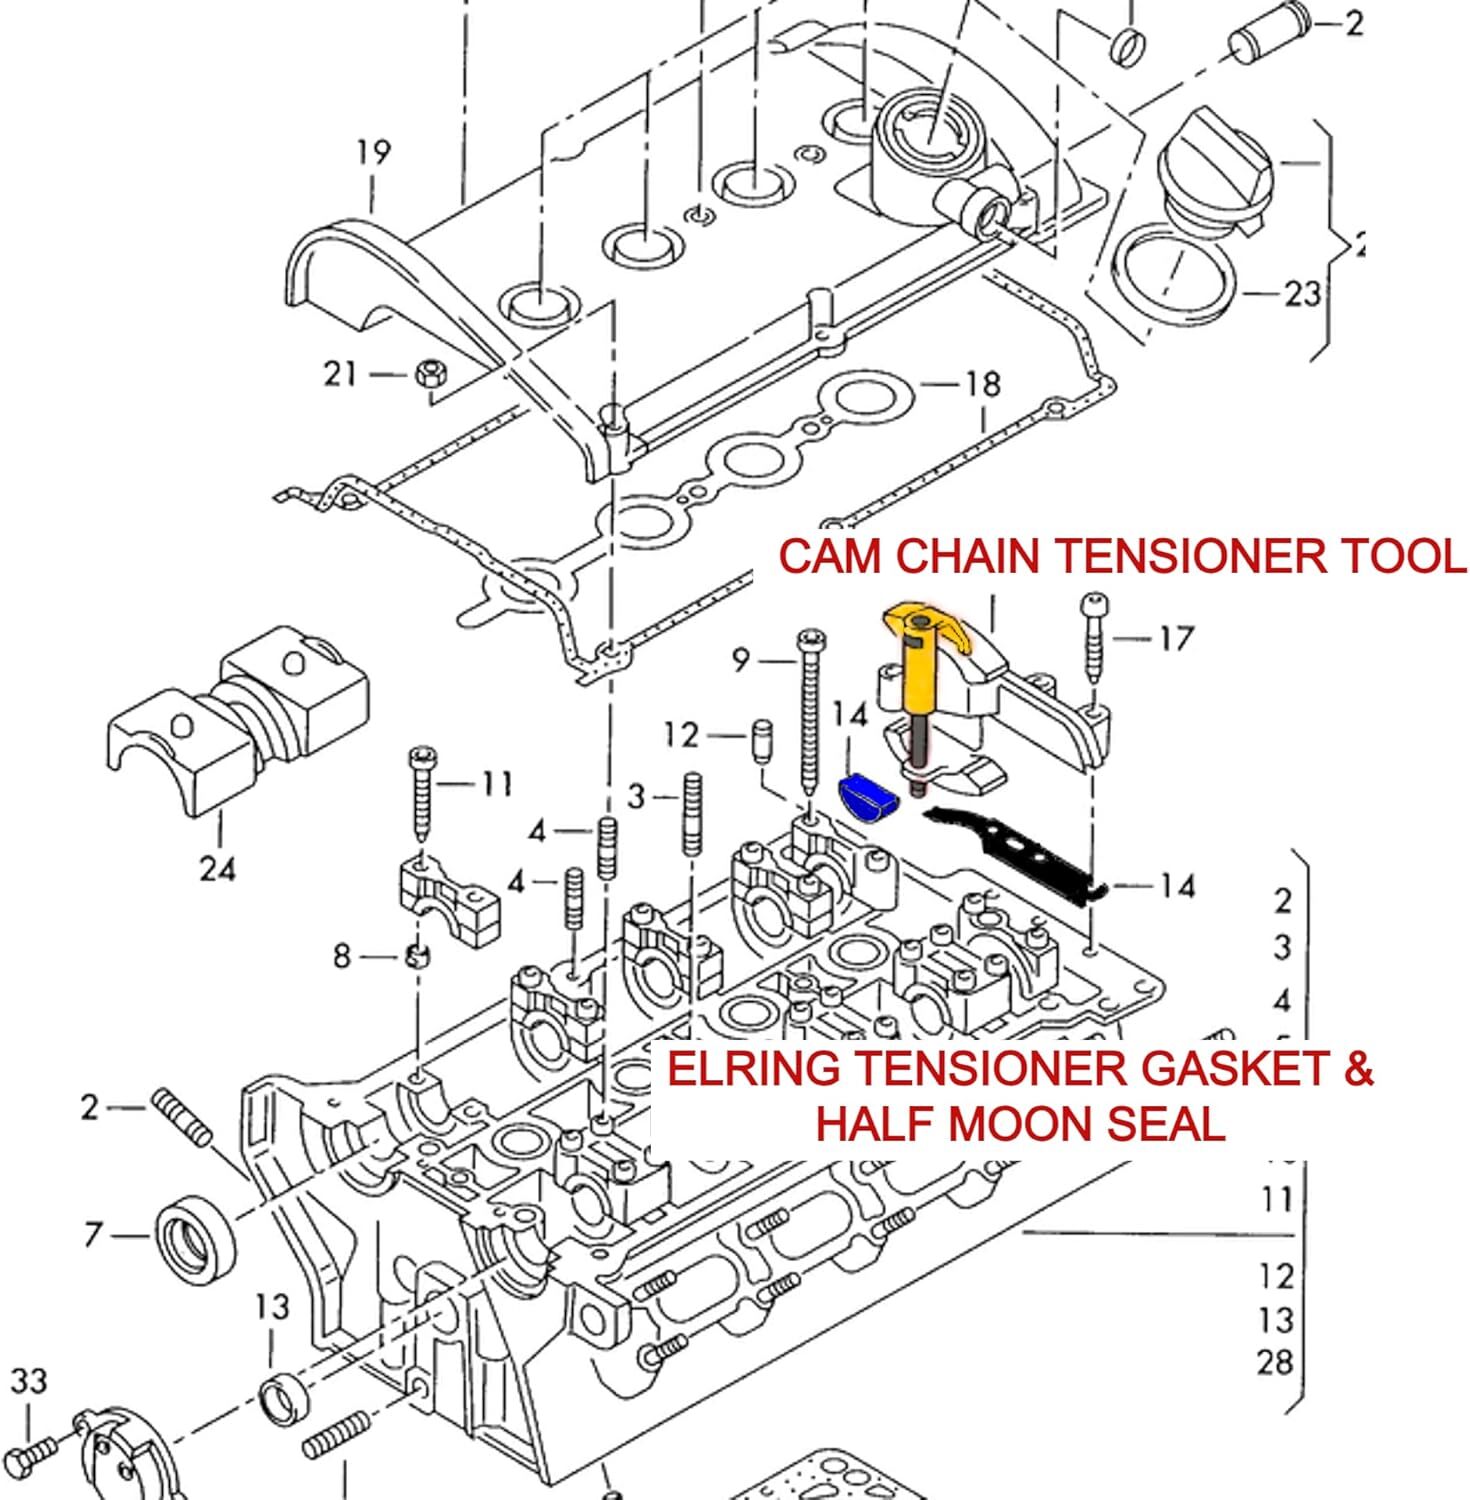
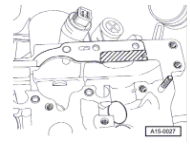
This step is optional, if you want to change your cam adjuster seal while your in there, its really easy to do with the tensioner out. The seal consists of a half moon seal, and a flat seal. It sits directly under the tensioner as in the pic below. Install this before you put the tensioner back in
With the tensioner back in, ensure the 16 chain links are between the timing marks and then put the cams back in.
When bolting on the cam caps do everything by hand, starting from the inside working your way outwards again using a criss cross pattern. Do this about 3 times lightly in the same pattern until the cam caps are flush with the head.
NOTE: The cam caps do not require much torque, exceeding this torque can crack the cam caps.